|
With
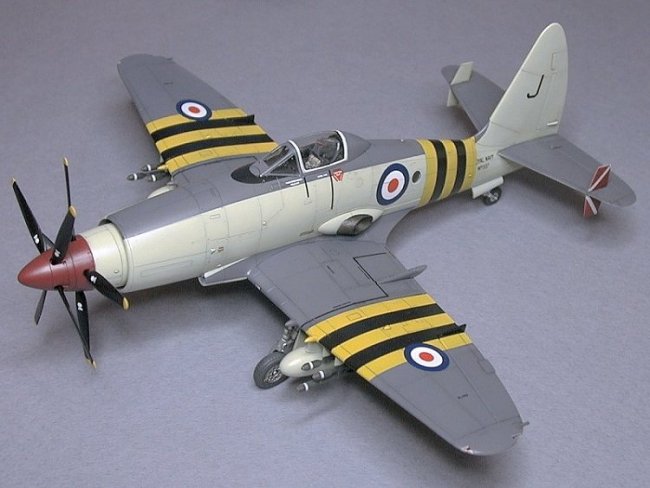
only a handful of airframes built, this release from Trumpeter has to fall in to
the “why do we get a main stream kit of this aircraft with so many more
important aircraft still waiting” category (along with the upcoming Airfix
TSR2). Now before I get labelled an Anglophobe, I am starting to get a bit more
enamoured of some of the Empire’s aircraft from the twilight era of the prop
driven frontline combat aircraft. That and the fact it has Suez/Operation
Musketeer stripes on it… I’m not going to go into the history as it’s not
really something I am fully up on, apart from some research I did while
building this superb, if somewhat over-engineered, kit.
Construction
is very much straight-forward apart from a few little “gotchas” along the
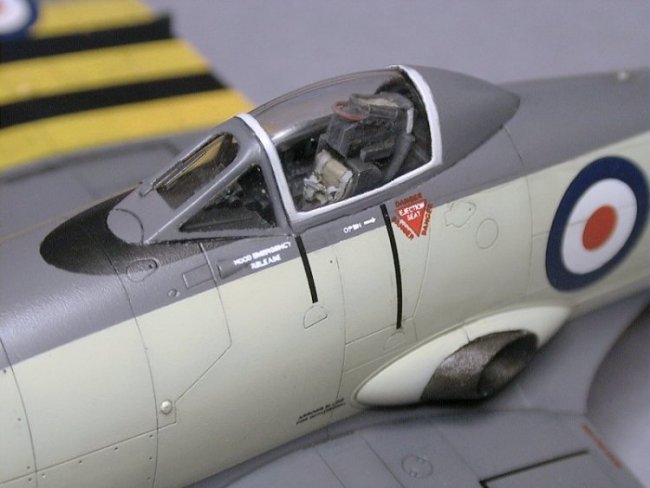
way. The cockpit is almost straight out of the box, but with a few small
improvements. Firstly, the large throttle quadrant was noticeably absent, so a
spare from a Cooper Details Spitfire set was added. The “gunsight” was
woefully lacking in every area, looking more like a doorstop than an aiming
accoutrement. I scratchbuilt one using some images gleaned from numerous
searches on the web (not an easy bit of information to find). Finally, the very
nice kit seat was lacking seatbelts, so was replaced with a resin item from
Pavla.
Once
the instrument panel was thinned and drilled out, so I could use the kit
provided “fixed six” instrument acetate, the whole cockpit (seat included)
was painted black - not grey as the kit instructions would have it! The fuselage
halves were closed up minus the “power egg” (engine). This made for ease of
painting and a place to stick a “handle”.
|
Click on
images below to see larger images
|
|

|
 |

|
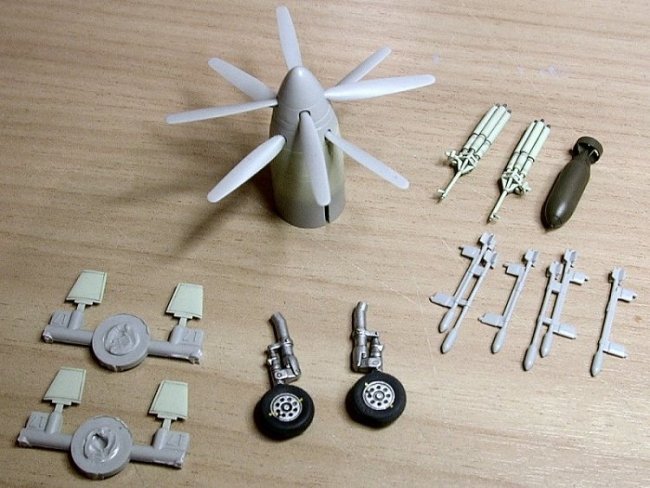
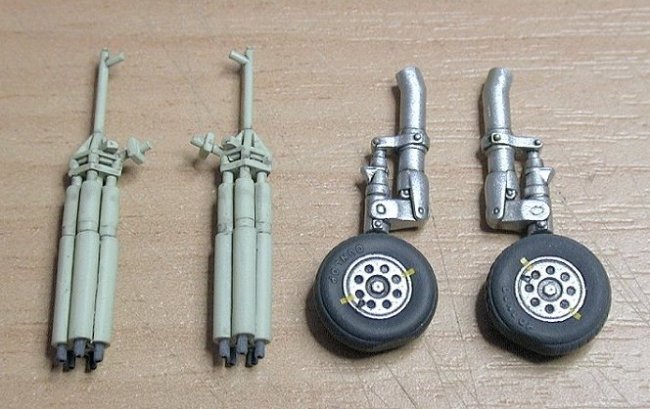
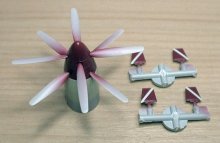
The
RATOG units’ lower rockets (parts D3) were found to have a noticeable oval
cross-section, so these were replaced with round rod of appropriate diameter.
The
20+ parts that make up the wings were assembled at this point, remembering to
open holes for the RATOG units and centre line bomb rack, and close holes for
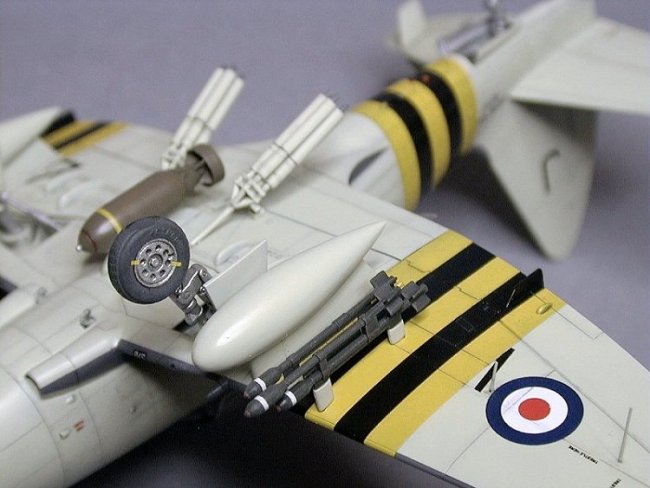
the two inboard sets of rockets on each wing. The drop tanks were modified by
removing the oversize flange/fairing around the middle, and attached to
strengthen the main wing fold hinge joint. For any of the aircraft depicted on
the decal sheet, if folding the main wings, do not fold the wingtips. All of the
aircraft depicted had the automatic wing tip fold removed (they could still be
folded manually, but very rarely were). I chose to raise the Fowler flaps, so
deleted the inner flap actuator arm pieces (A12 and A13) and removed the
actuator arms from the outer fairings (D21). The flaps tucked away nicely. If
using the drop tanks with the rockets, the rockets immediately outboard of the
tanks should be changed to a single weapon to allow tank clearance (as depicted
on the box-cover artwork). The outboard cannon fairings were also a little too
oval so were drilled out and replaced with lengths of shaped sprue.
With
the fuselage closed up and the wings assembled, the one thing I needed to do
before attaching the wings was to hollow out the exhausts. The kit parts were
thinned using the trusty Dremel and sandpaper, and then the openings marked on
the fuselage halves. These were opened using the Dremel as well, and then once
the exhausts were attached, their internal openings faired into the fuselage
holes using Tamiya putty. The last thing was to add some black-painted card
inside to prevent a see through look.
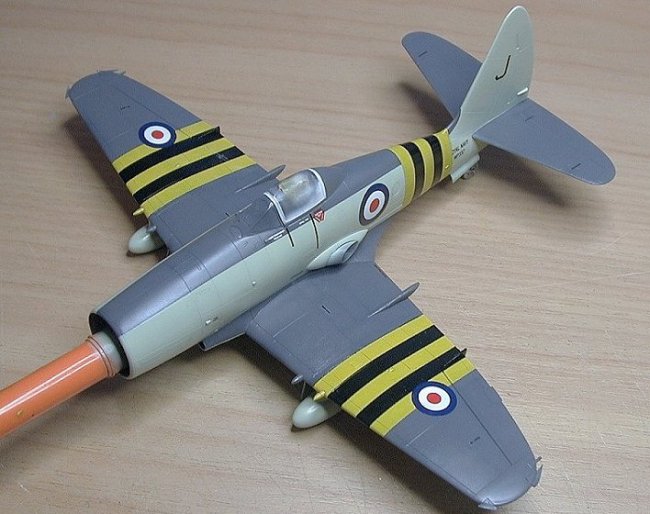
The
wings were added, and a little dab of Mr Surfacer was all that was required
along the joint. Final assembly before paint was to glue and mask the
canopy/windshield, and attach all gear doors, hook and tailplanes. Wingtip
lights had the bulbs drilled out and the resulting depression filled with Gunze
tinted clear colours. These were added to the wingtips and masked along with the
the port camera window. The engine assembly was modified so it, along with the
rockets, bomb, RATOG units, gear legs/wheels, and finlets could be fitted as the
very last steps of assembly.
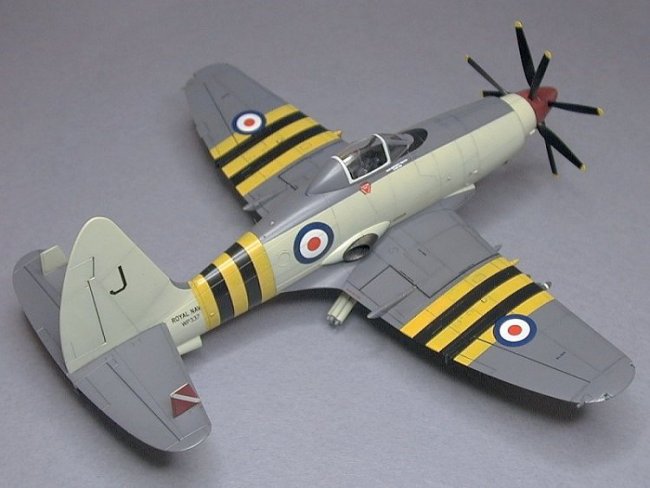
Painting
of this model was, for want of a better term, “arse about face”, and all
painting was done using Gunze Sangyo acrylics. The whole model was pre-shaded
black, and the areas of the wings and fuselage where the Musketeer stripes went
was painted solid black. Once this had all had 24 hours to dry, the black areas
of the stripes were masked and the yellow painted.
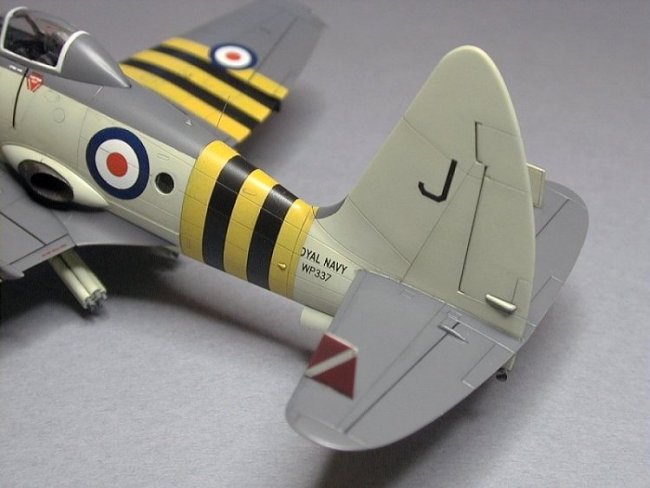
This
was left for 2 days, and then the whole invasion stripe areas masked before the
tops of the wings, tailplanes and fuselage were painted EDSG (H331). When the
uppers were dry, they were masked and the lower Sky (H74) areas were painted.
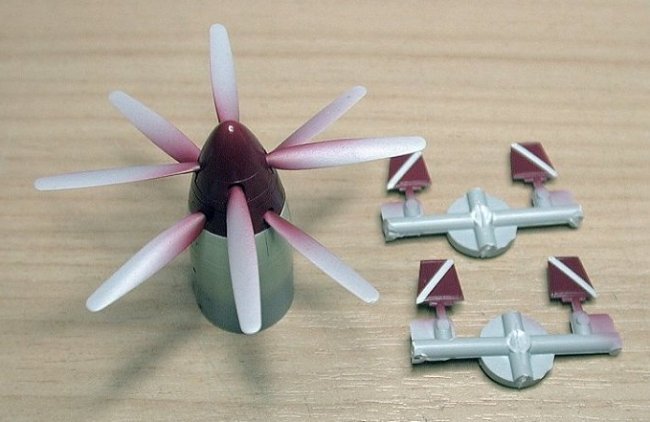
Finlets were painted white, and then the diagonal stripes masked, being careful
to get their orientation right. Spinners and finlets were painted Russet (H33),
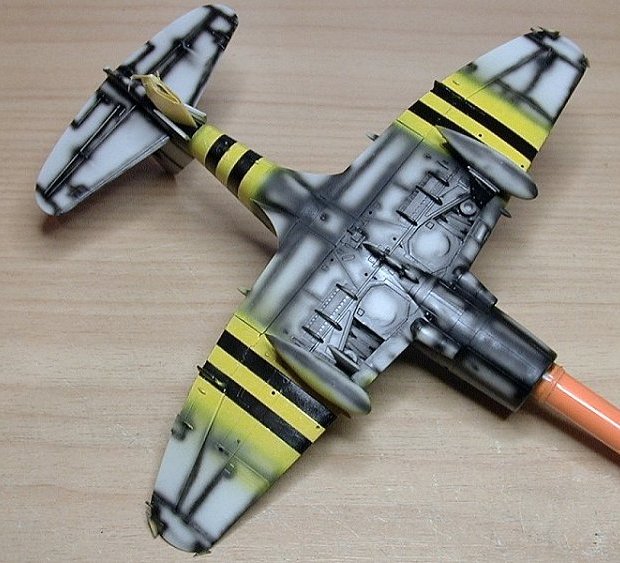
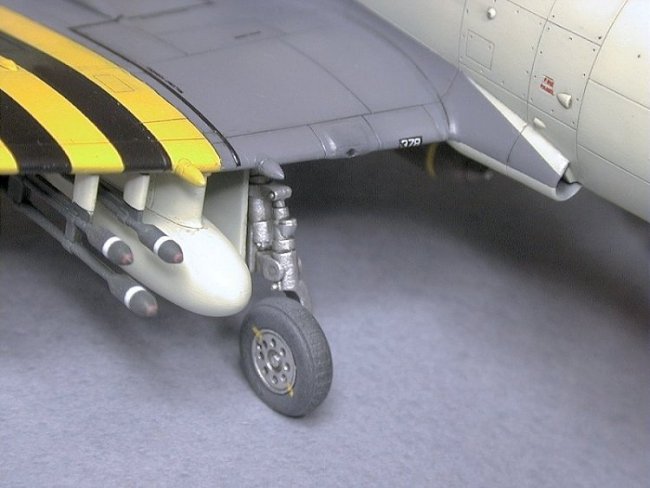
which seemed to be a good Maroon to me. A couple of colour points, the interior
of the wheel wells were painted Sky, not Silver as stated by the instructions,
and the inside faces of the finlets on the 830 Sqn Wyvern depicted were also
Sky, not Maroon. Always check your references…
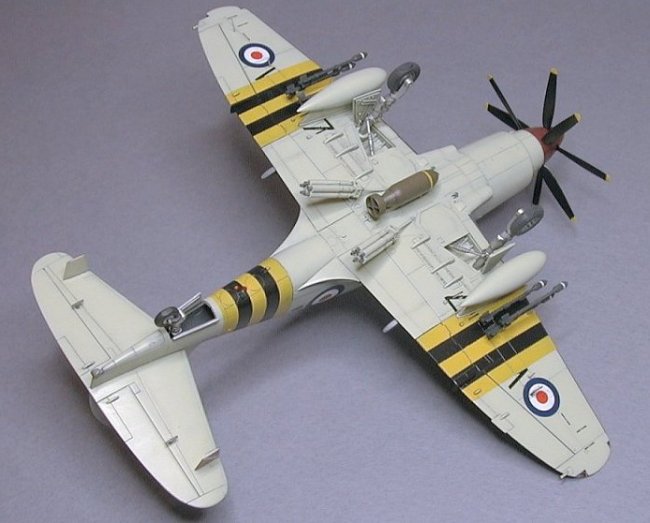
Final
painting was the stores, gear, propeller tips and blades and the exhausts. While
the prop blades were masked off to paint black, I also took the opportunity to
mask and paint the missing anit-glare panel in front of the windshield. The
model was coated with Polly S gloss varnish and then left to dry for 3 days
before decaling. Kit decals were used, though some had to be modified, omitted
or added to fix some problems. The underwing serials had to be cut to a ‘\’
and a ‘7’ to represent the ends of the serials where the invasions stripes
passed over them. Decal 26 read terribly (“PINS MUST ALIGN FOR WITHSEAWAL”)
so was carefully modified with a scalpel to correct it to WITHDRAWAL. Decals 30
(“DO NO STOP HERE”?!) were not present on the aircraft so were left off, as
were the 4 “SLING HERE” decals (23) on the fuselage. There are actually a
few decals included on the decal sheet which are not mentioned, but should be
used. A half dozen “TRESTLE HERE” stencils were added under the wings, along
with 8 propeller logos included on the sheet but not mentioned.
A
point of note – the large numbers on the nose (decals 18) were only added
AFTER Operation Musketeer was over, as these were originally positioned on the
fuselage where the invasion stripes were, and hence were covered by the stripes
during operations. So if modelling the aircraft during the operations, leave
these decals off. The wing walkway markings (decals 24) have rounded corners,
but should be square, so some spare decal and a scalpel soon corrected that. I
note that the MonoChrome boxing (same kit, different brand, but the original
pattern/mold maker) wing roundels are too small in diameter. The final change to
the decals was to print out using the
ALPS
, and apply, the aircraft number in white on a black square on the wing leading
edge.
|
Click on
images below to see larger images
|
|
 |

|
 |
 |
The
model was glossed, weathered and then given a satin coat, as these aircraft were
glossy in real life. Finlets, landing gear, stores and RATOG were attached.
Finally the engine had some 5 minute Araldite applied and was inserted into the
front of the fuselage. The three recognition lights under the fuselage had some
of the Araldite tinted and added. The last thing left to do was remove the
masking from all clear parts, completing a very enjoyable build.
Reference
-
Westland Wyvern
Post-War Wings Line
Michal Ovcacik, Karel Susa
4+ Publications
ISBN 80-902559-9-X
Craig
|
|