|
The
Republic F-105 Thunderchief was developed to meet a United States Air Force (USAF)
need for a fighter bomber capable of both replacing the F-84 Thunderjet and
carrying nuclear weapons. The
Thunderchief, eventually to be referred to most commonly as the “Thud”, was
the largest single engine jet fighter ever developed for the USAF.
The
single seat F-105D was a radical upgrade to the F-105B and was the first
aircraft to employ the concept of fully integrated avionics.
Significant changes to the avionics and cockpit instrumentation allowed
the F-105 to be an all-weather fighter. This
version was heavier as well as having a longer fuselage in order to accommodate
the additional radar equipment. Production
began in 1959 and the F-105D became the most numerous aircraft variant with 610
aircraft built.
The
F-105D became the USAF’s primary fighter-bomber during the Vietnam Conflict,
conducting its first missions in 1965 and continuing throughout the war.
The F-105 was well suited for the role due to its maneuverability and
stability during high-speed, low-level flight.
The F-105D was later augmented by the two-seat F-105F, which was used in
the “Wild Weasel’ surface-to-air (SAM) suppression role over
North Vietnam
. ‘Thud’ pilots flew over 20,000 missions in
Vietnam
and accounted for over 75 percent of all the
bombing missions flown during the war. Of
the 750 F-105s use during the war, 397 were lost in combat or in accidents,
literally depleting the F-105 fleet of its operational capability by 1974.
F-105s accounted for 27.5 MiG kills and the destruction of many North
Vietnamese SAM sites during the war.
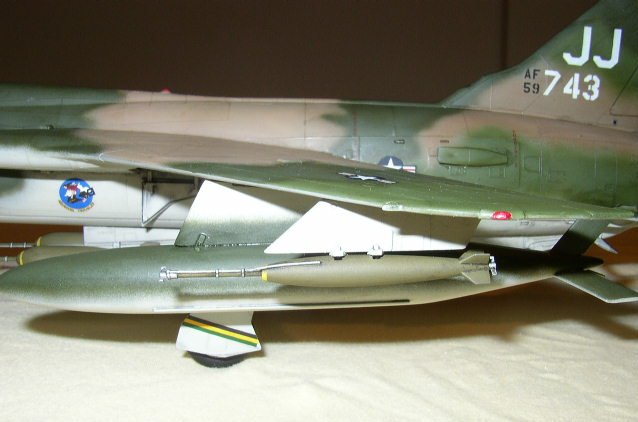
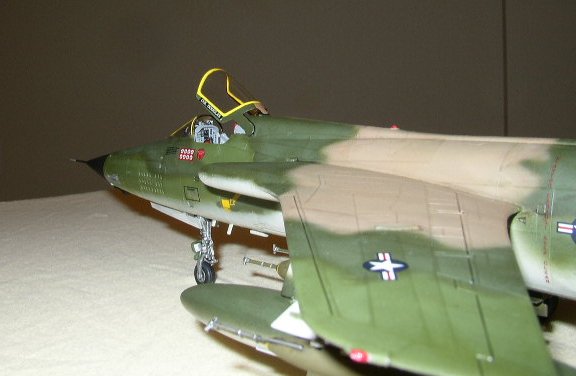
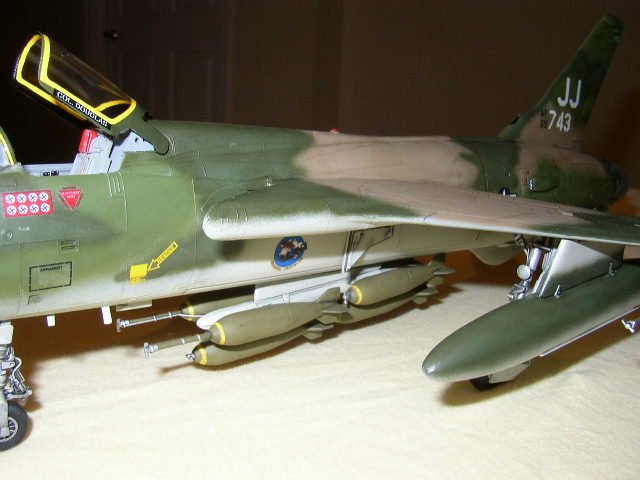
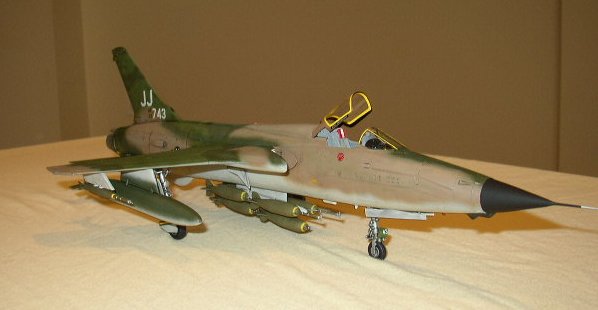
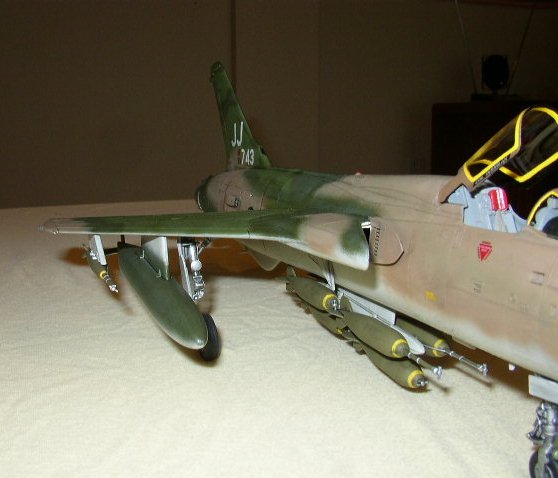
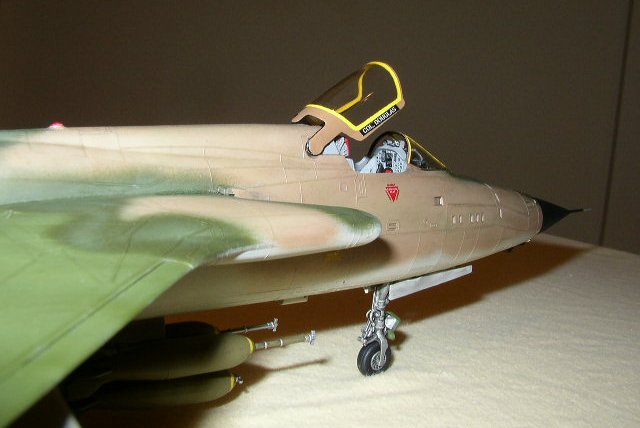
This
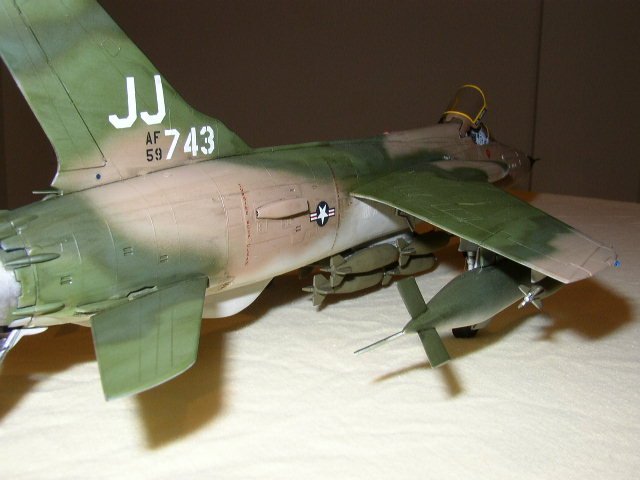
is my Revell 1/48 F-105D Thunderchief. It
represents F-105D-5-RE, 59-1743, the “Arkansas Traveler”, flown by Colonel
Paul P. Douglas, Jr., Commander of the 388th Tactical Fighter Wing,
Korat
,
Thailand
, in 1968-69.
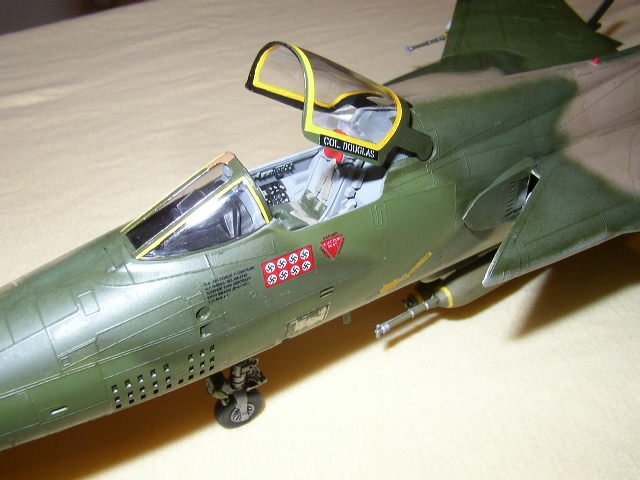
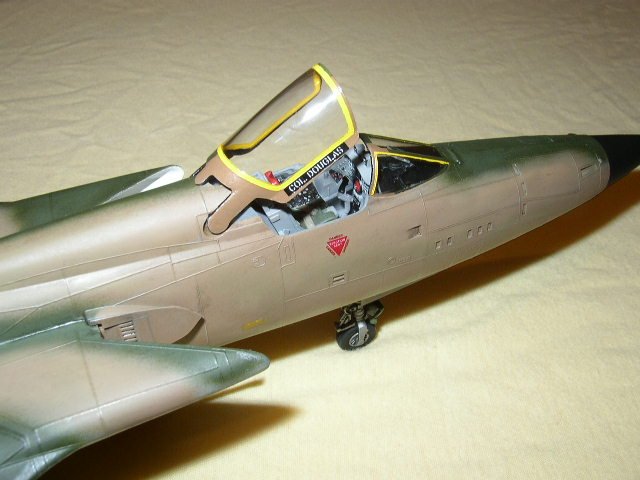
Colonel Douglas became an ace during World War II flying a P-47
Thunderbolt, and his F-105D carried his kill markings from that conflict.
Today, the “Arkansas Traveler” is proudly displayed at the
Hill
Aerospace
Museum
located on the grounds of Hill Air Force Base,
Utah
. (http://www.hill.af.mil/museum/)
The
Kit
Typical
of Revell/Monogram kits, this model had some engineering issues, although, in
the end, it builds into a very nice model of an F-105D.
These engineering issues included lack of tabs for proper alignment of
the nose gear well, no pre-drilled holes for the centerline multiple ejection
rack (MER), the MER tabs for the bombs being too thick, the rear portion of the
nose gear being too thick to fit into the wheel well, the main gear retraction
jacks having no slot to be glued into in the wheel wells, the nose gear doors
fitting poorly, the underside fuselage antenna, fuel dump, and “Y” vent
having no respective slots or locating pins,
and the locating tabs and corresponding slots for the main gear struts
being a complete circle, as opposed to a half circle, thus making it harder to
ensure proper alignment of the landing gear.
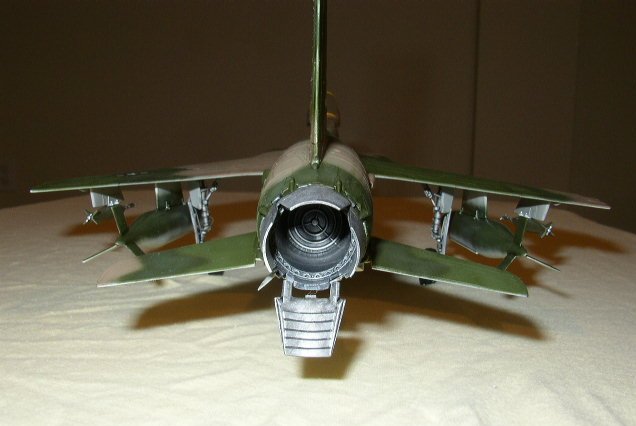
On the plus side, the cockpit, ordinance, landing gear, wheel wells,
afterburner assembly, exhaust nozzle/brake petals and overall detail are all
very well done. I especially liked
the arrangement of the rear wing spar being fitted through the fuselage to form
the rear part of the wheel well, thus ensuring a good wing-to-fuselage fit and
proper dihedral. In addition, the
dimensions look very accurate, really bringing home the size of the brute.
Construction
The
model was built pretty much straight out of the box, with the only exception
being the resin ejection seat, which is made by Seamless Suckers (I love that
name!), which was a nice improvement over the kit-supplied seat.
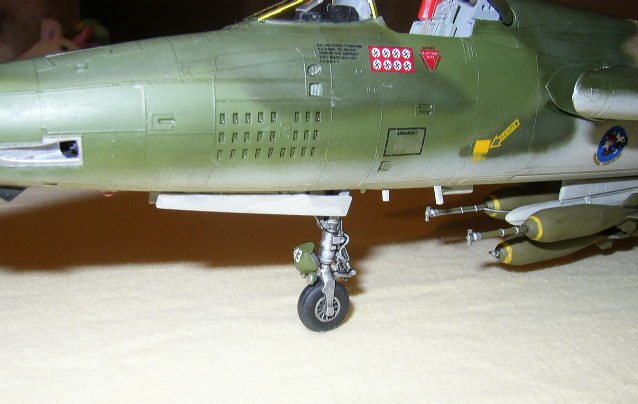
Also, the molded on brake lines were filed and sanded off the landing
gear struts and replaced with beading wire and brass wire, giving them a more
realistic look. To secure a good
fit of the underside fuselage antenna, fuel dump, and “Y” vent, I drilled a
small hole in the rear of each piece, and glued a piece of brass rod in each
hole to make a locating pin. I then
made a small indentation in the fuselage with the exposed end of the pin, and
drilled a small hole for each piece, with the result being a strong, secure fit.
To keep the model on its nose, I inserted weights in front of the nose
gear wheel well and in the tips of the underwing fuel tanks, as this model is a
real “tail-sitter”.
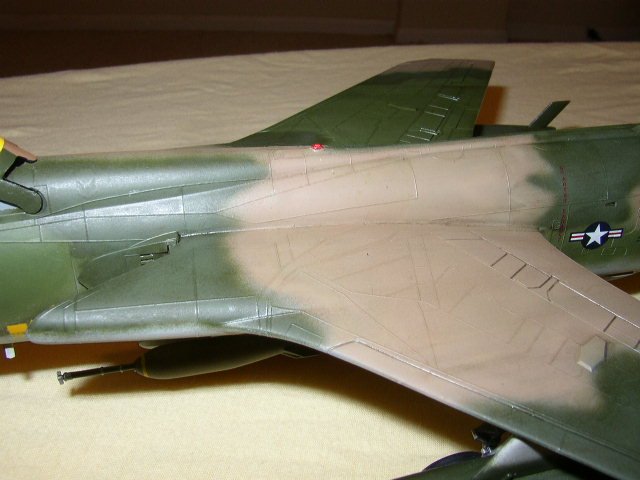
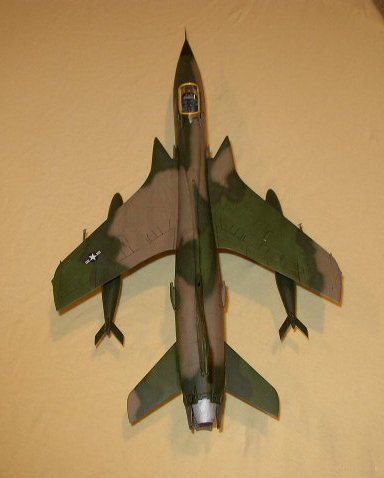
Painting
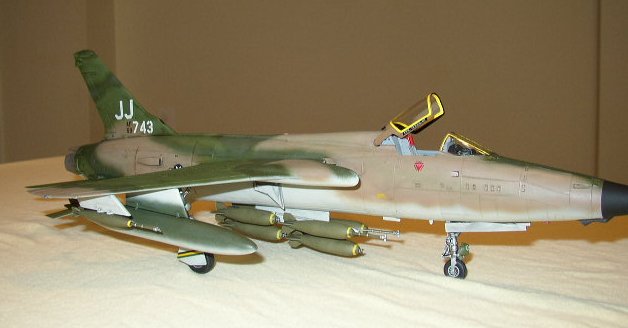
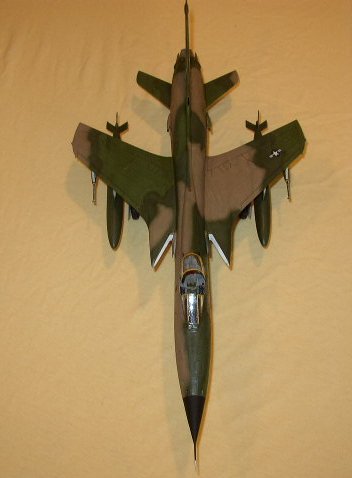
I
used Model Master Enamels for the standard SEA camouflage pattern of Dark Green
(FS# 34079), Medium Green (FS# 34102) and Tan (FS# 30219) over Light Gray (FS#
36622). The cockpit was painted
Interior Gray (FS# 36231). The
model was airbrushed freehand using a Badger 200 single-action airbrush.
After each exterior base color was airbrushed on, I went over it with the
same color mixed with white, to represent fading from the hot, humid climate of
Southeast Asia
. I
airbrushed starting with the light gray, followed by the tan, medium green, and
dark green, respectively. This
helps to prevent the darker colors bleeding through the lighter ones.
Touching up the overspray was achieved by airbrushing and drybrushing.
By drybrushing, I was able to subtly eliminate most of the overspray
while at the same time maintaining the feathered edge of the colors.
Weathering
& Final Assembly
For
the landing gear, ordinance, brake petals, engine, wheel wells, and interior of
the inboard gear doors, I used an acrylic wash of PollyScale Night Black,
followed by a drybrushing using the respective base colors mixed with white.
A few coats of Future was brushed on to the fuselage, wings, MER, pylons,
exterior of landing gear doors, and wing fuel tanks in preparation for the
decals and to seal the enamel and decals against the effects of the oil wash. I
used Ivory Black mixed with Turpenoid for the oil wash, applying it to a section
at a time; then wiping it off with a dry cotton rag.
The oil wash does a nice job of giving a plane that subtle, grimy look.
I used the kit decals, which were applied using Micro Set Solution.
Paint chipping was done by using a silver artist pencil.
Testors’ dullcote was sprayed on the entire model, which really helped
to tone down the weathering. Finally,
the windscreen and canopy were painted with a brush, dipped in Future and
allowed to dry overnight. The glass
for the gunsight and the canopy were glued on using super glue, and the
windscreen was glued on using Elmer’s glue.
Special
thanks to modelers
Ivan Rich
and Jeff Brundt who provided me with advice on the
oil wash and using a Lego block as a guide for painting those tricky yellow
stripes on the curved part of the fuselage bombs.
Happy
Modeling!
Rick
|
|