|
Introduction
I've been reading this website for the last 2 years. It has inspired me to
get back into building modelling. With the internet, I've been able to get
advice on how to use an airbrush that I've owned for 17 years. Since
Bf109s are also my favorite, everyone
on this site will be able to track my skills progress.
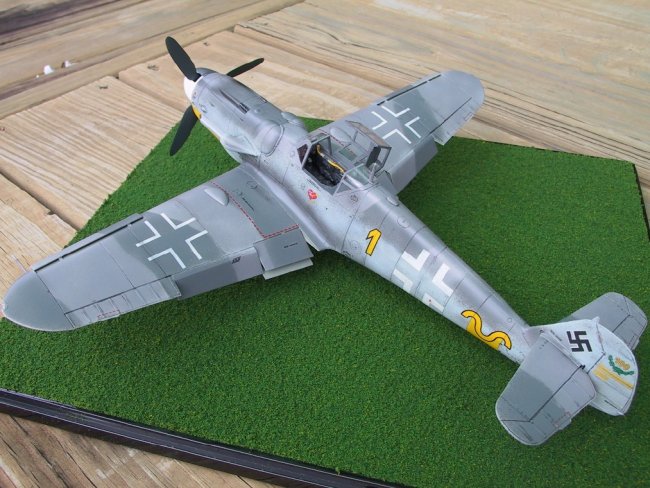
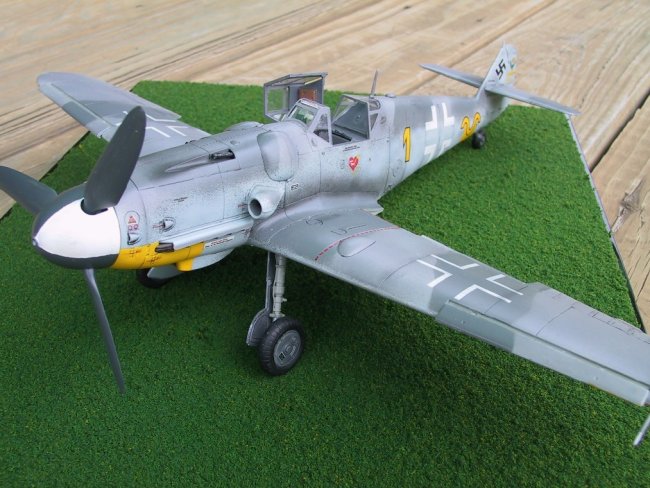
This Hasegawa 1/32 Bf109g-6 is my 3rd build. I'm not going to go
into the history on this plane since there is so much out there already for
anyone who is still curious so I'll go straight into the build.
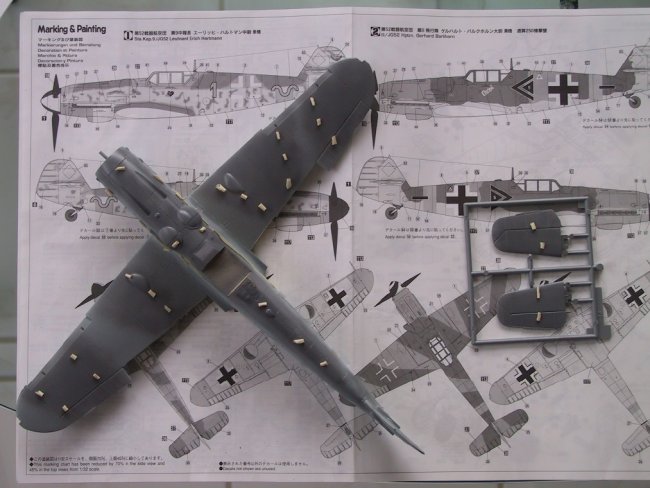
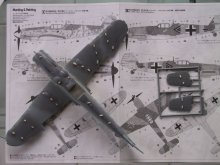
Kit
Although I've been building for 30 years now, this kit is absolutely amazing.
The fit, the details, the engraved lines...sure beats all of those kits from the
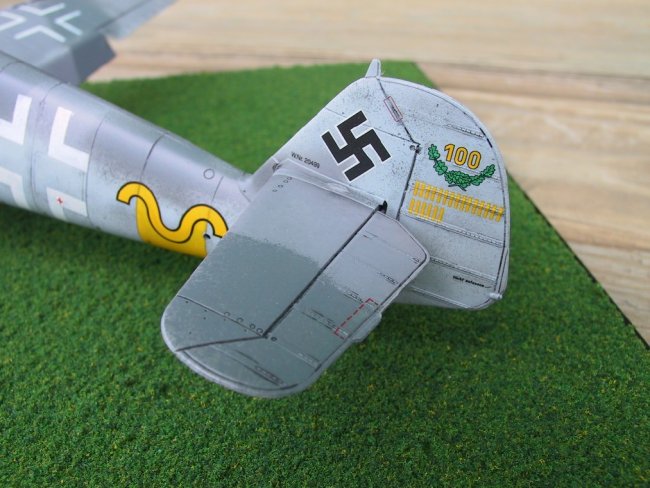
1970s and 1980s. One area of concern is the main flaps and radiator flap.
In the down position as set
by tabs molded onto the flaps, they touch. They are also very flimsy so
shouldn't be handled hard. On another of these kits I've built in the
flying configuration, I broke off the tabs and glued all of the flaps in the
closed position and they seem to fit more sturdily than in the down position.
|
Click on
images below to see larger images
|
|
|
 |
|
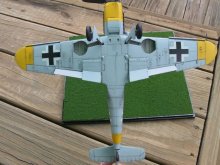
Painting
All of the photos I've seen of this plane seem to have lighter shades of RLM 74
and 75. I don't know if the photos are faded or if the paint. I used
Model Master enamels paints. I lightened the 74 and 75 with about 10%
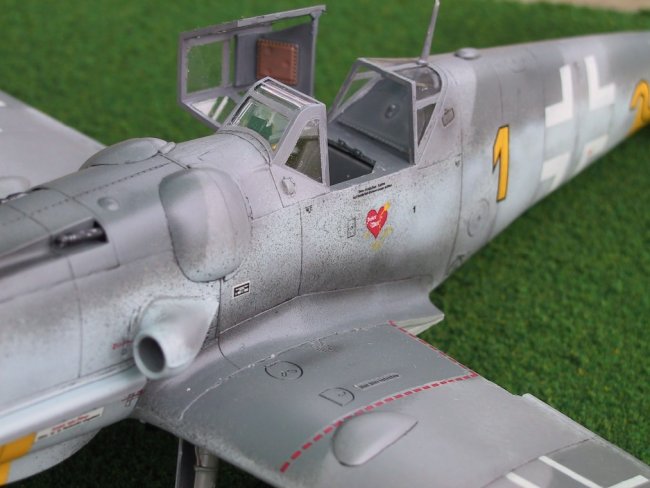
white. I tried lightening RLM 76 before and it looked way to white so I
left that color straight from the bottle. This was my second attempt at
mottling and had to do a few repaints to get it acceptable to
my eyes, by far not the best but I'm still learning.
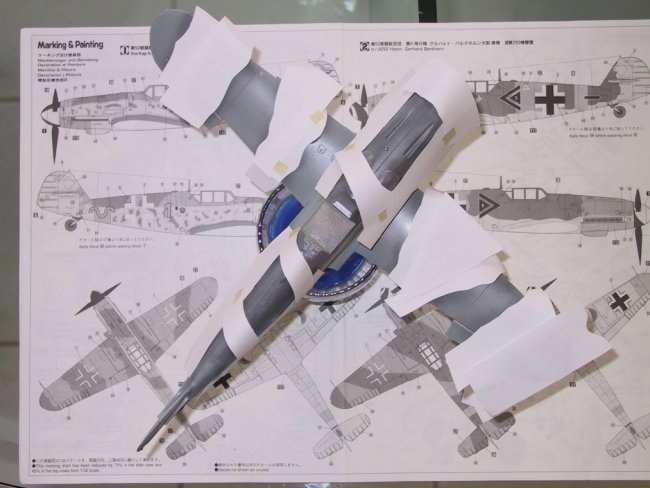
To slightly soften the demarcation lines, I rolled up tape to raise some sheets
of paper about 1/8 inch or so above the surface. I highlighted the panel
lines by painting regular kid type water color over the lines, then with a
slightly damped paper towel, lightly clean of the excesses by wiping
perpendicular to the panel lines. Smoke stains were done with dark gray
pastel chalks. Instead of shaving the chalks to get the powder, I held a
flat front paint brush very close to the edge to stiffen up the bristles and
scrape a layer of chalk off the top then "paint" these powder over the
desired area.
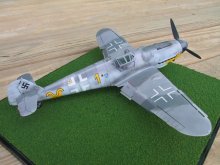
Decal
Another area to watch out for is the cross under the wing as there is a circular
access hatch with a pointy part. This pointy part made the decal stand up
like a tent. A few applications of Micro Sol and the decals softened up to
the level of shriveling up. I very
very very gently massaged the decals to set them into position. I've also
found the decals on this Hasegawa kit to be very thin. The ProModeler
version of the BF109 has slightly thicker decals that required at least 15
layers to Micro Sol to settle down. I tried
hand painting Future on decal areas but only had limited success with silvering
so I'll still have to work on this skill. A layer of semi-gloss was
sprayed on the final product to seal everything in.
|
Click on
images below to see larger images
|
|
|
 |
|
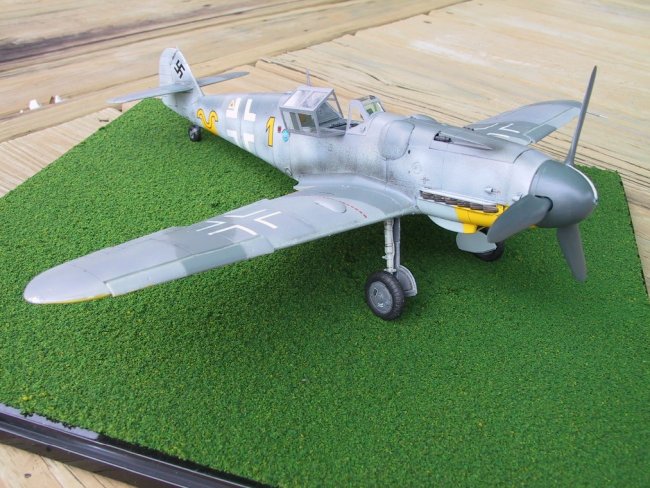
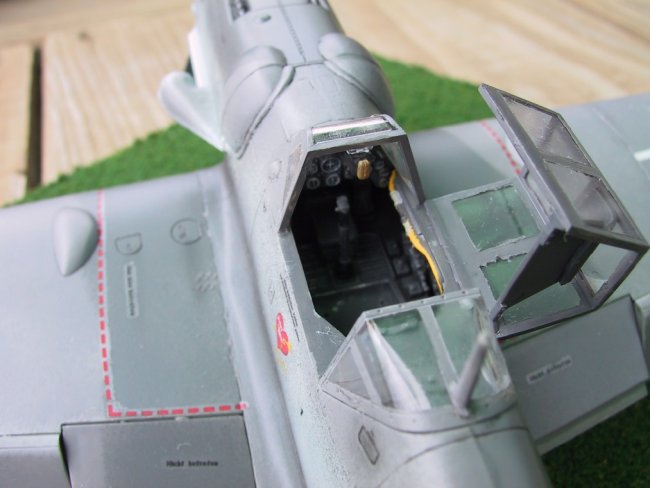
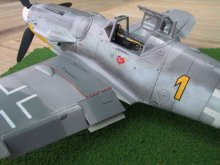
Conclusion
This was my third attempt with panel lines and stains. With the airbrush,
water color and pastel chalks and my models look thousand of times better than
what I was capable of before. With these new techniques, I'm starting to
attack my 50 or so unbuilt kits, about
half of which are 109s. Check back for more 109s postings by me.
Hopefully, my airbrushing techniques will improve, but I think I'll do some
winter and desert 109s to build my skills before going back to mottles. By
the way, I'm still trying to figure out
how to do the antenna wires so non are on these photos.
Hung
|
Click on
images below to see larger images
|
|

|

|
 |
 |
|
|